How Does a Camera Shutter Work?
5/27/2020
We are all familiar with the sound of a camera shutter. But do you know what happens inside your device when that happens? In this article, we’ll explain how a shutter works, and why you hear that distinct clicking sound.  
What Is a Camera Shutter?First, let’s define what a shutter is and what it does. You can think of it as a gate that opens to let the light into the sensor or film and closes to stop the exposure. In reality, a shutter is a complicated mechanical contraption. It’s not just a simple gate that opens and closes. There are various types of shutters that work differently depending on the camera. Let’s have a look at the shutters you’ll find in DSLRs, mirrorless, video, and motion picture cameras.
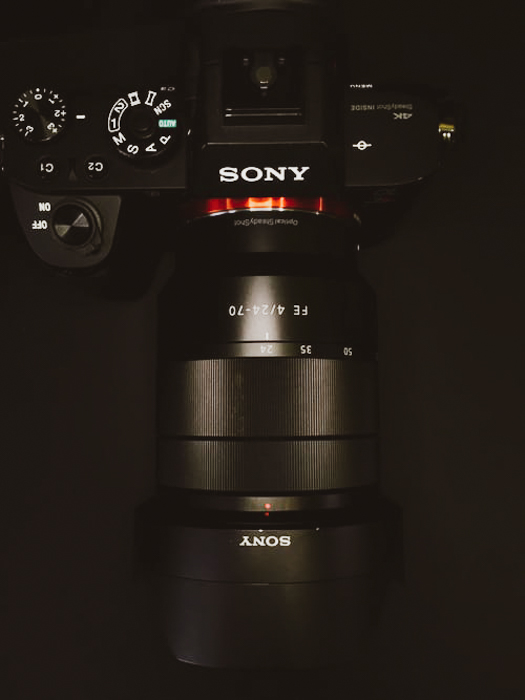
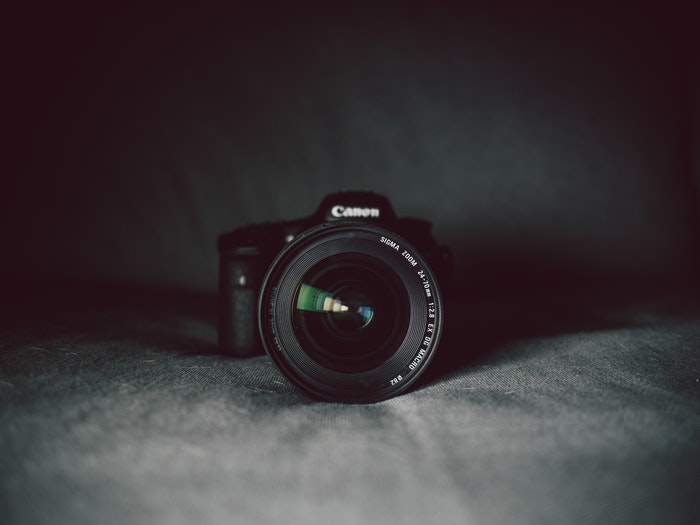
How Does a Camera Shutter Work?DSLR ShutterBefore we start, let’s define DSLR to understand how its shutter works. The acronym stands for Digital Single Lens Reflex. That means that your camera has an optical device composed of a mirror and a prism. This lets you see exactly what goes through the lens. The optics of the DSLR works by placing a mirror behind the lens, which goes to a prism inside your viewfinder. You can think of it as a tiny periscope that bounces light around to reach your eye. Now, what does the mirror have to do anything with the shutter? Well, since the mirror is directly behind the lens, it prevents the light from hitting the shutter. But the DSLR is designed in such a way that when you press the shutter button, the mirror goes up so the shutter can open and make an exposure. When you press the shutter button, you’ll hear the mirror make a slapping sound when it goes up. Since it’s not reflecting any light behind the lens and directing it to your viewfinder anymore, you get a black screen. While the mirror is up, a shutter curtain goes down and exposes the sensor behind it. Once the exposure is finished, a second curtain goes down and covers the sensor. The amount of time the first curtain goes down and the second curtain goes down depends on the shutter speed. The slower the shutter speed, the longer the shutter is open.
Mirrorless ShutterMirrorless cameras are called such because they don’t have the mirror that DSLRs have. Mirrorless cameras transmit image data from the sensor to a small electronic screen in the viewfinder to let you see what you’re shooting. In many ways, the shutter mechanism of a mirrorless camera works similarly to DSLRs. It also has a shutter curtain that goes up and down as you take a picture. But the difference this time is the way it moves and captures the image as you press the shutter button. Since a mirrorless camera doesn’t have a mirror, the sensor is fully exposed behind the lens. But when you press the shutter button, a shutter door goes up to block the sensor, and then goes down to make the exposure. Once the exposure is done, another door goes down from the top of the frame.
Medium Format ShutterWe’ve all heard of crop-sensor and full-frame cameras. Crop-sensors are typically found in cheaper consumer cameras. Full-frame sensors are the ones that most professional photographers use. But what about medium-format cameras? Medium-format got its name from 120mm format cameras during the film days. Since medium-format cameras have a bigger sensor and resolution, they’re very expensive. Only a small percentage of professional photographers get to use them on a daily basis. Just like full-frame cameras, medium-format cameras also have DSLR and mirrorless versions. That means that their shutter mechanisms also vary. But the high-end medium-format options often feature a special shutter called a leaf shutter.
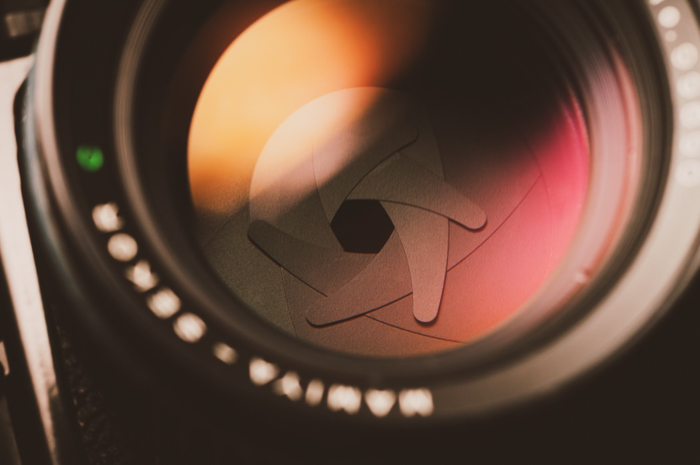
Unlike other shutter mechanisms, a leaf shutter is inside the lens and not the camera body. It also looks and works like an aperture, moving inwards or outwards instead of up and down. The advantage of a leaf shutter is that it’s faster than any other mechanism that employs a shutter curtain. You can use it for high sync flash that can be 1/1000th of a second or more, as compared to 1/200 or 250th of second for mirrorless and DLSRs. Compact Cameras and SmartphonesEver wonder where the clicking from your compact camera or smartphone comes from? The truth is that sound is produced electronically. Compact cameras and smartphones don’t have shutter curtains that go up and down at all. Instead, they capture light from the lens straight to the sensor. That’s mainly the reason why they’re smaller and can take more pictures than regular cameras. So if your smartphone works without a shutter, then why is it still necessary for normal cameras to have one? It all comes down to the quality of the photos. Cameras without shutters tend to produce grainy pictures. On the other hand, cameras with mechanical shutters have cleaner images. They have better control of the light hitting the sensor.
Shutter Activity When Taking PicturesAs mentioned earlier, the amount of time the shutter stays open is proportional to the shutter speed you set on your camera. As an experiment, you can adjust your shutter speed to 3 seconds and press the shutter. The time between the first click (when the shutter and mirror opens) to the second click (when the shutter and mirror closes), is the same amount of time. But since shutters are mechanical, they can only go so fast when taking pictures. Try pressing the shutter and hold it for ten seconds and you’ll see how fast or slow your camera takes pictures. Your camera’s shooting speed is calculated by using FPS or frames per second. Most consumer cameras can only take about 5 to 8 frames per second even when using a shutter speed of 1/8000th of second or more. While some professional models (especially mirrorless options) can shoot almost up to 24 frames per second. Shutter Activity When Shooting VideosNow that you know that most cameras can only shoot a few frames per second, you’ll understand why the shutter is never used when shooting video. Otherwise, you’ll end up with jerky motion because the shutter isn’t fast enough to capture natural movement. When you record videos using your mirrorless or DSLR, your shutter goes up and never goes down until you finish shooting. In Video Mode, the sensor then becomes a “virtual” shutter by electronically scanning the light coming from the lens. Capturing video data depends on the kinds of sensor your camera has. Ther are two main types of sensors in cameras. The first one is the CMOS which is found in most entry-level and even professional cameras. It captures video by scanning the scene from left to right, and top to bottom. A CMOS sensor scans an entire scene in milliseconds (which is fast!). But it tends to suffer from the rolling shutter. In other words, it distorts fast movement because it can’t record a scene all at once. If you have a DSLR or a mirrorless, try swiftly panning your camera from left to right and you’ll notice that “Jell-o effect” caused by rolling shutter. The second type of sensor is called CCD and is mostly found in high-end and professional video or cinema cameras. It uses what’s called a global shutter to avoid any distortion in movement. That means it captures a scene all at once so you’ll see no lags in any motion in your frame.
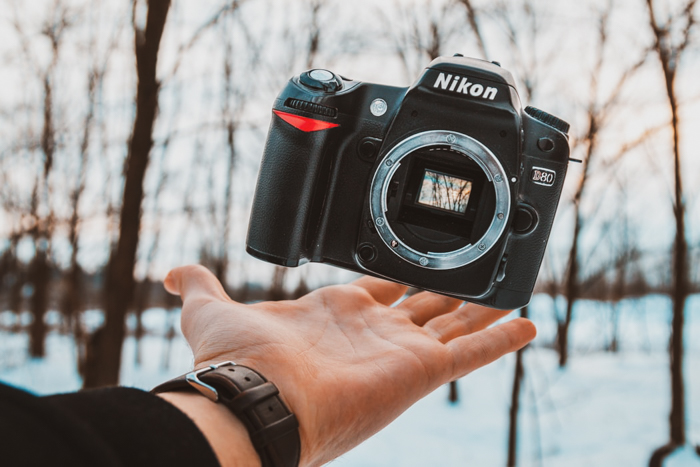
Check Your Shutter CountYour camera shutter is mechanical, which means that it can only do so many clicks before it stops working. Your camera’s shutter life expectancy can be found in your camera’s spec sheet or online. An average consumer camera has a rating of about 100,000 shutter actuations. Meanwhile, professional options are rated 200,000 or more actuations. It may not sound enough. But in general, most enthusiasts only reach up to 25,000 actuations a year. That means their camera can last up to 4 years. Meanwhile, it’s not unusual for professional photographers to reach 50,000 or even 100,000 actuations per year. That’s why you often see them change their cameras all the time. You can check your shutter count online by uploading a recent JPEG or raw picture from your camera. Remember that sometimes a shutter can break before or even way after it reaches its expected number of shutter actuations. Like your car mileage, a shutter life expectancy is a manufacturer’s estimation. 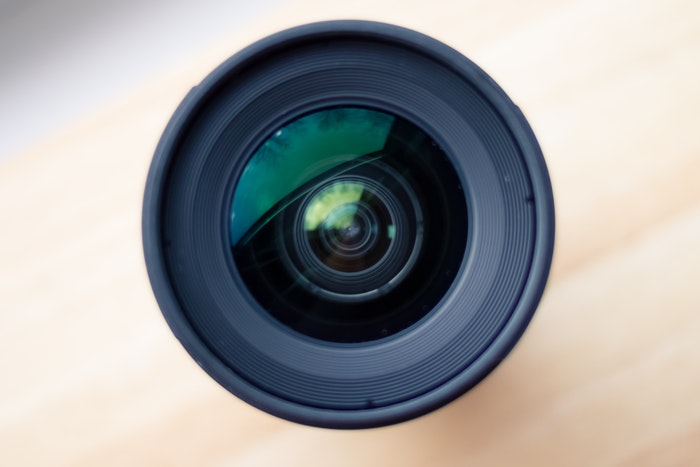
ConclusionIt’s always a good idea to learn about how your camera works. Knowing the mechanics of your shutter, for instance, would allow you to see its capabilities and limitations. And let’s be honest: It feels good to know what’s going on inside your device when you hear that click.
Save this article to your Pinterest profile to access it later!

via RSSMix.com Mix ID 8230553 https://ift.tt/2XzD3Yh
0 Comments
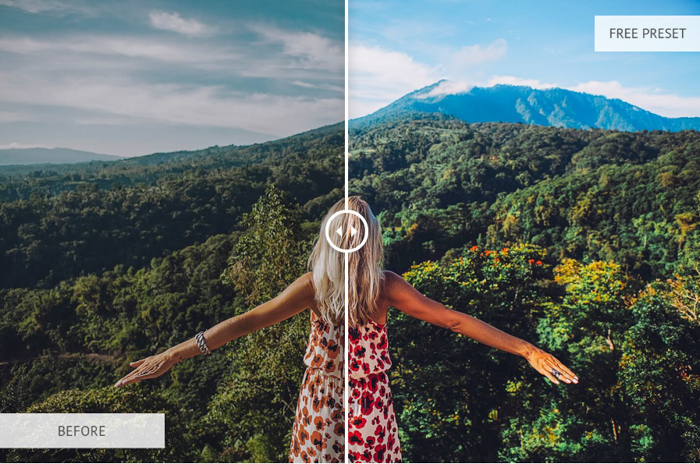
Presets can be extremely helpful when working on portraits in Lightroom. Adobe Lightroom comes with default presets. However, they do not always have the ones you need. Thankfully, you can find tons of Lightroom presets online without paying for anything. Now let’s check out the 25 best free Lightroom presets for portraits to download! 
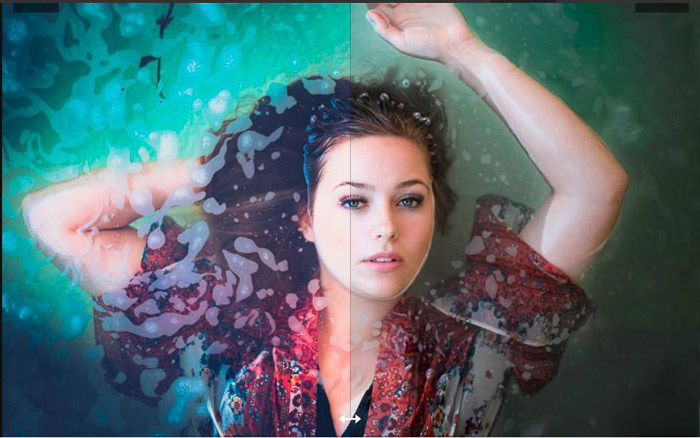
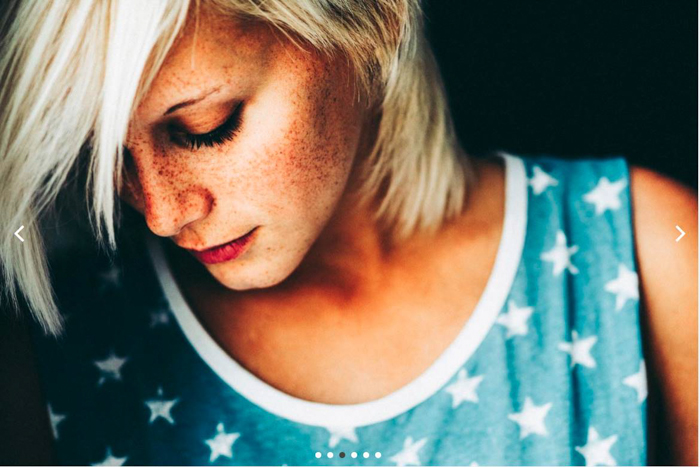
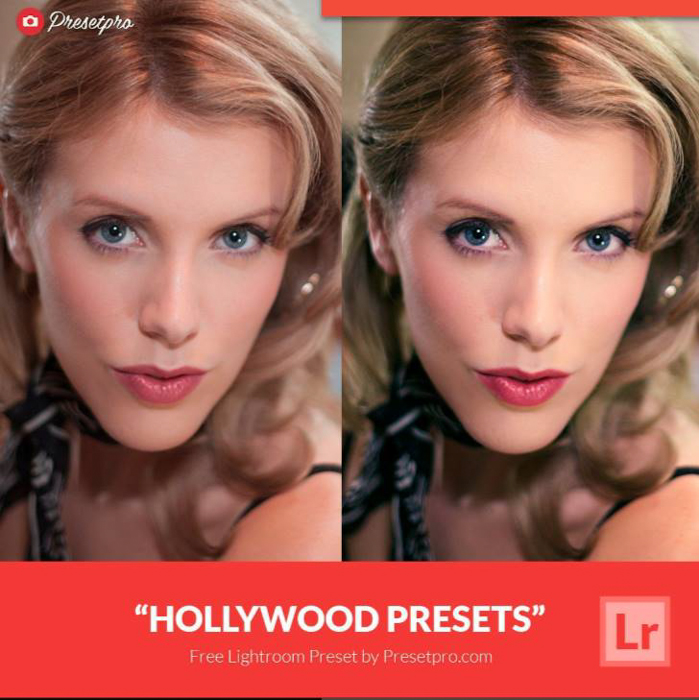
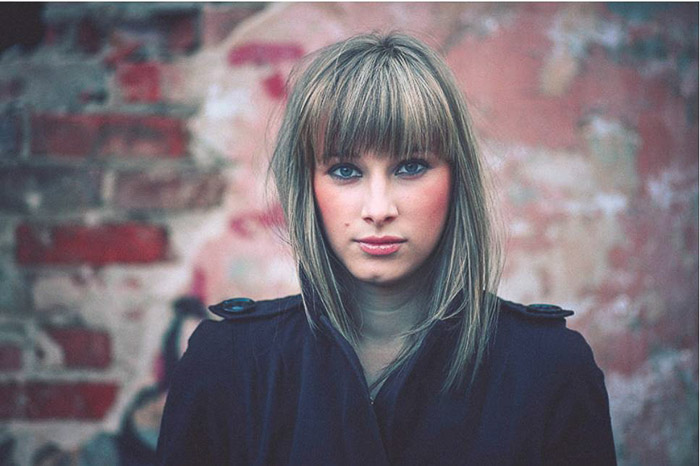
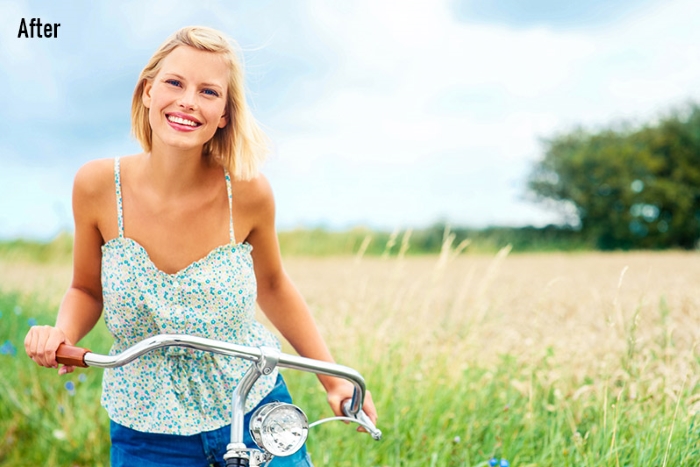
[Note: ExpertPhotography is supported by readers. Product links on ExpertPhotography are referral links. If you use one of these and buy something, we make a little bit of money. Need more info? See how it all works here.] What Is a Lightroom Preset?Before we dive in, let’s find out what a Lightroom preset is and what you can do with it. You can think of Lightroom presets as filters. They change the colors and other exposure settings of your image for creative effects. Lightroom presets create a mood that further improves your portraits. Not to mention that they give your images a coherent look. So are there free Lightroom presets? The simple is yes, and there are tons of them out there. So what’s the catch? A lot of photographers share them to help market their name. Meanwhile, others use them to introduce you to paid versions that are better. Most free Lightroom presets are easily downloadable. While some require you to subscribe to the creator’s website or social media channels. Without further ado, let’s take a look at some of the best free Lightroom presets for portraits on the web! 25. Fixthephoto’s Light and Airy PastelIf you want to add subtle touches to your portraits, then this preset collection is worth a try. This preset package creates a soft glow on the skin without changing the skin tone. At the same time, it makes the colours in the images look vibrant. The effect it creates may be subtle, but you’ll definitely notice how it makes you feel: Light and airy.
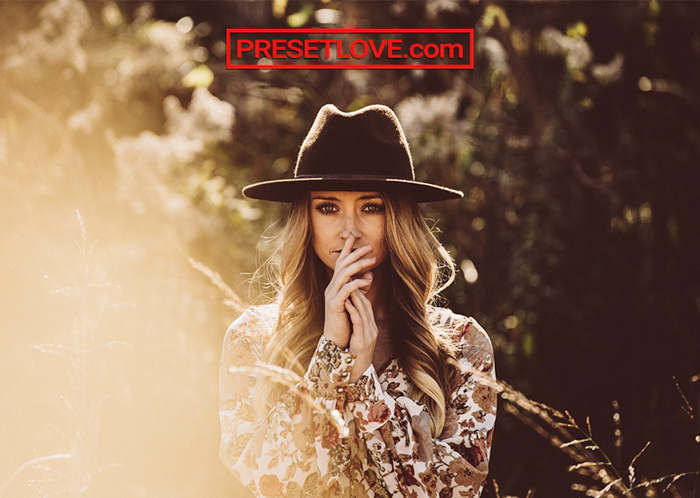
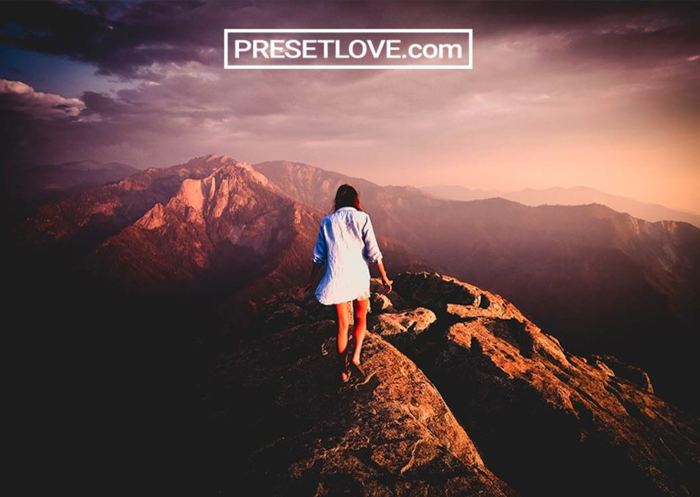
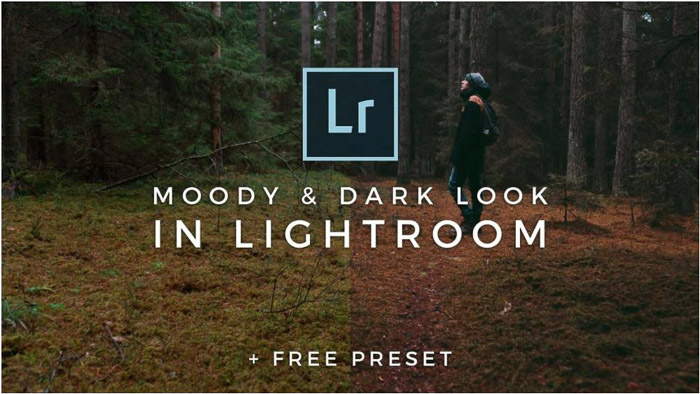
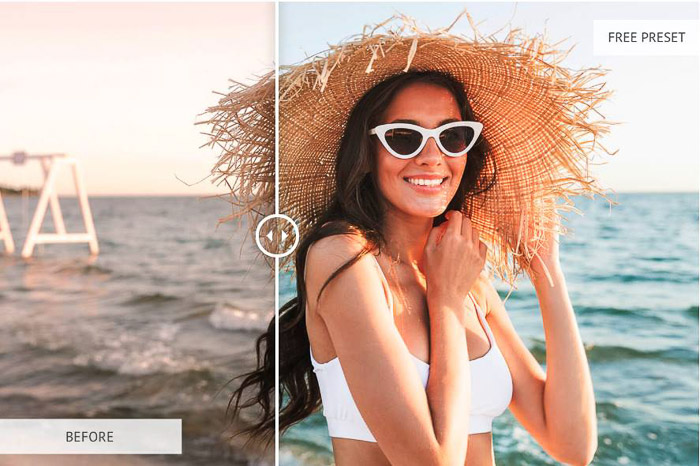
24. PresetLove’s Warm CinematicPresetLove’s Warm Cinematic is the best option for photographers who love that moody look in some movies. Warm Cinematic deepens the shadows and creates beautiful contrasts. It also uses a warmer colour temperature to produce a sunny atmosphere in your images. This preset is perfect for photos with bright lighting. Using it on dimly lit images may produce dark and grainy results. Furthermore, it tends to make some pictures look muddy. But thankfully, you can easily fix all these issues with a few adjustments.
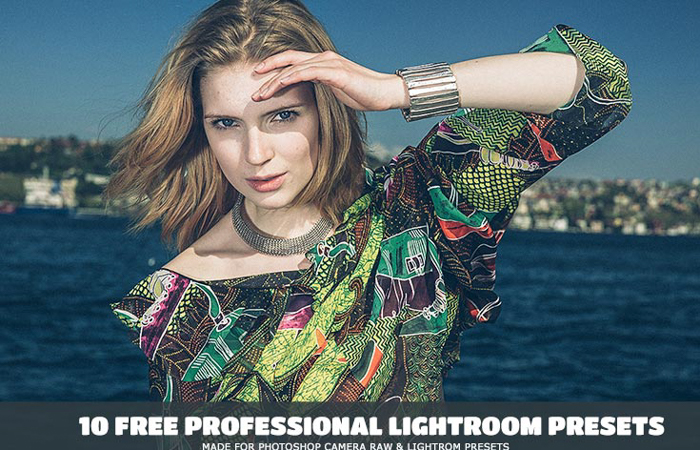
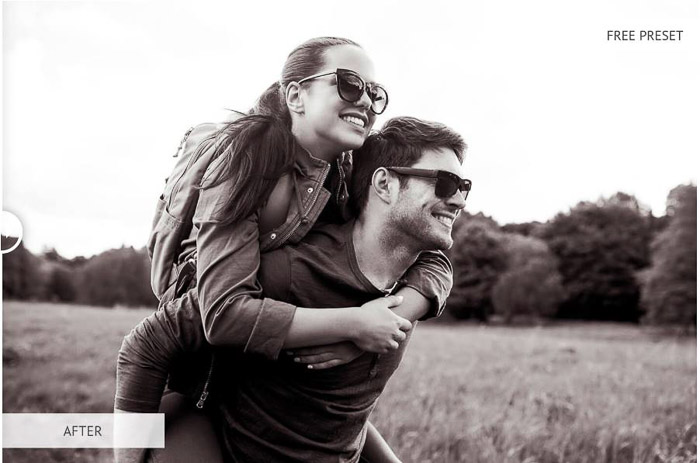
23. Creative Tacos’ 10 Free Professional PresetsPeople like to use the term “professional” a lot these days to make their products seem legitimate. But more often than not, many of them fail to deliver quality results. Thankfully, Creative Tacos really meant what they said about their 10 free professional presets. Each variation delivers quality tones and realistic effects that real professionals deserve and love. The collection gives you a variety of choices from adding a soft look to creating realistic film effects. And each option produces vivid colors and beautiful contrasts that don’t scream “it’s a filter!” Needless to say, this collection of free presets is definitely one of my favourites!
22. Creative Presets’ Ultra PopIf the colours in your images always look dull, Creative Presets’ Ultra Pop needs to be in your preset collection. Surprisingly, this collection of eye-candy presets now sell for $29 on Creative Presets’ website. But you can still get a free version at Pixelbuddha which we linked above. Ultra Pop does a great job making the colors in your images vibrant. But at the same time, it doesn’t oversaturate your image to the point that everything looks radioactive. You may have to tweak your contrast and other exposure levels every once in a while. But for the most part, Ultra Pop renders colors accurately.
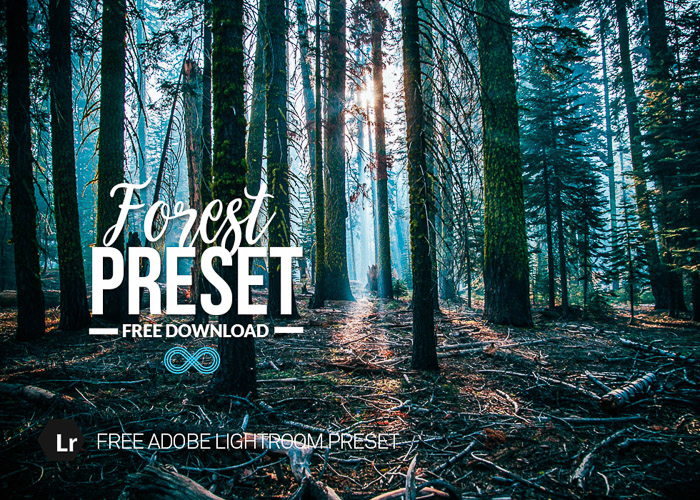
21. Photonify’s Forest PresetThis free lightroom preset covers your photos in a beautiful, cool hazy look. We recommend to use it on portrait photos where the light is soft and warm, or neutral. Prepare yourself for an impressive image transformation as soon as you click on this free preset. It’s not for all types of photos, but when it works, it really works. You can access the free preset by submitting your email address.
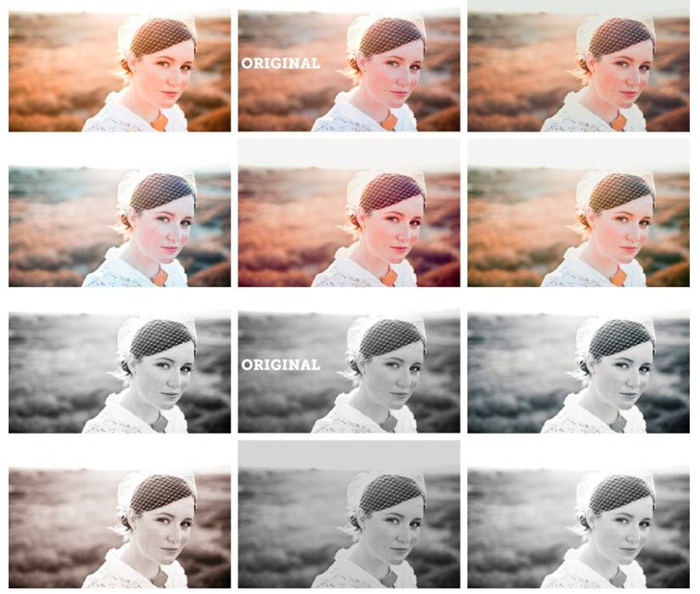
20. Altphoto’s 10 Free Presets PackAltphotos has created a pack with 10 free Lightroom presets for portraits. Nine of them are color presets and one is White & Black. The color presets have a variety of effects. You can use them to either warm the colors of your portraits or cool them down. These free Lightroom presets also enhance the browns or the blues of your portraits. The result creates a subtle retro look. A nice thing about this pack is that you can find descriptions on the website. This way, you will know beforehand which exact effect each preset will produce. And the best part? You can download these Lightroom presets at once (no need to use your email address).
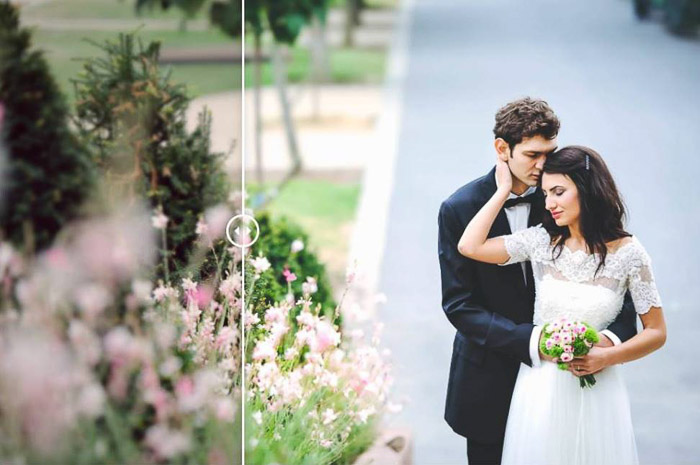
19. Warm Retro PresetThe website PresetLove offers many free Lightroom presets for portraits. And the Warm Retro Preset is one of its most popular collections. You can download the free preset by itself, but you do need to give them your email address. Once you subscribe to the newsletter, the website will send you the file to your mailbox. Warm Retro gives your portraits a soft vintage look. It increases both warmth and brightness and mutes the colors slightly. The difference with other muted presets is that Warm retro enhances the sharpness of the portrait. It’s also crisp and detailed. I recommend this preset if you are looking for a charming retro look and want to keep the natural look of your images. If you prefer, you can also download a bundle of 290 Lightroom presets from the website. The catch is that it’s not free. In my opinion though, Warm Retro would be enough for most of your photos.
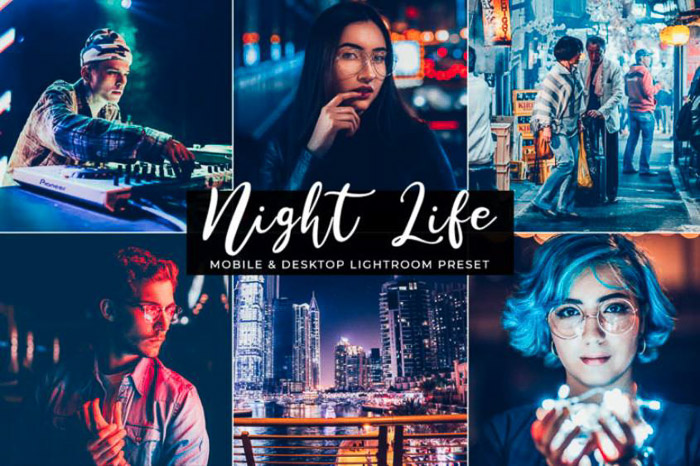
18. Urban Cool Lightroom PresetThis is another one of the free lightroom presets for portraits from Presetlove. But it’s totally different from Warm Retro. Urban Cool is perfect for urban and street portraits. It enhances the cool colors by adding greens, blues, and violets to the shadows. To balance the cool colors, it saturates the warm tones. It also increases the clarity and sharpening, giving a pop to your photos. The great thing about this preset is that it adds a film look to the urban backgrounds of your portraits. At the same time, the skin color remains natural.
17. Shadow Crusher Free Lightroom PresetPresetlove’s “Shadow Crusher” saturates a portrait with intense tones. This increases both the exposure and the shadows and adds a dark vignette effect. All of these adjustments result in dramatically dark photos. The “tough and dangerous” look it creates makes it perfect for urban photos. And did we mention that it’s perfect for competitive or extreme sports photographers, too? When you use this preset, keep in mind that it pulls the mid-tones towards the extremities (especially to the dark). Furthermore, it also creates a tint of magenta in the image. Photos with a widespread histogram are perfect for this free lightroom preset. But you should also make sure that your photo doesn’t have too much purples and magenta.
16. All Gold Everything PresetIf you want to give your portraits an 80s twist, should check out Presetlove’s “All Gold Everything” preset. This is one of the free Lightroom presets that nostalgic millenials will absolutely love. All Gold Everything brings up the warm tones in your images and give them a yellow cast. It will make them look as if they were captured on a Kodak Gold film. If you want to take a Stranger Things Style photo, give this free Lightroom preset a try. |
AuthorWrite something about yourself. No need to be fancy, just an overview. Archives
October 2021
Categories |


 [Note: ExpertPhotography is supported by readers. Product links on ExpertPhotography are referral links. If you use one of these and buy something, we make a little bit of money. Need more info?


 [Note: ExpertPhotography is supported by readers. Product links on ExpertPhotography are referral links. If you use one of these and buy something, we make a little bit of money. Need more info?


 RSS Feed
